Keeping Your Vape Kit Fresh: A Simple Guide to Cleaning Your Vape
If you’re like me, you love your vape kit—but let’s be honest, it can get as messy as a teenager’s room after a party. Keeping your vape kit clean isn’t just about aesthetics; it also helps maintain that perfect flavor and ensures every puff is as satisfying as the first. Let’s dive into cleaning your vape to kitting and keeping it in tip-top shape!
Step 1: Disassemble Like a Pro
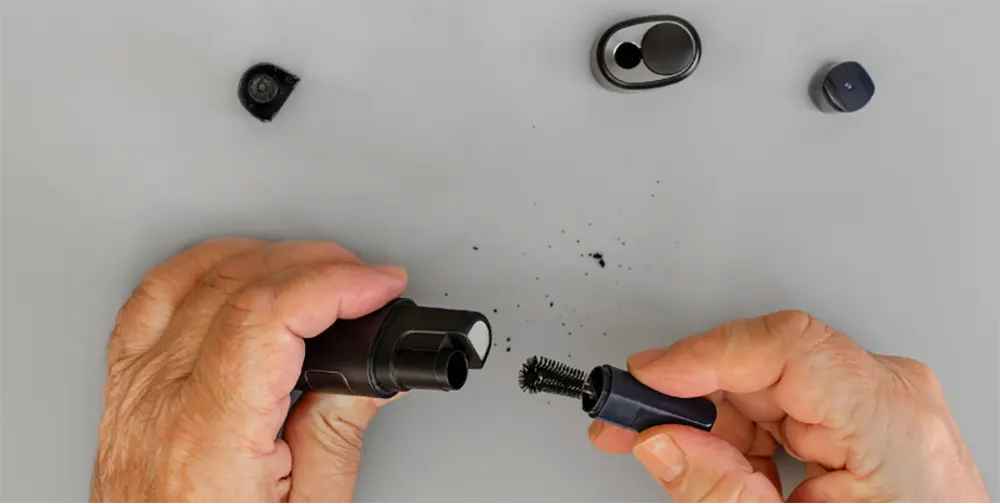
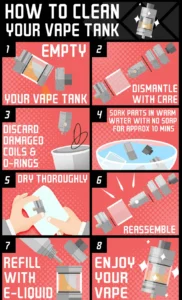
First things first: break your kit down into its basic parts. Think of it like taking apart a Lego set (but without the tiny pieces that cause painful mishaps on your floor). Remove the tank, coil, drip tip, and any other detachable parts. A little extra time here saves you from bigger hassles later.
Step 2: Rinse, Wash, Rinse Again
Grab some warm water—no soap needed at this point—and give all the parts a good rinse. For a deeper clean, you can gently wash them with a mild dish detergent. Remember, it’s all about removing that stubborn residue from your vape juices, so don’t rush the process. Your kit will thank you for the spa treatment!
Step 3: Soak for a Bit
For parts that are really caked on, let them soak in a bowl of warm water for about 20-30 minutes. This is like giving your vape kit a relaxing bath—it softens up the gunk, making it easier to wipe away.
Step 4: Gently Scrub Those Areas
After soaking, take a soft brush or even a cotton swab and gently scrub the parts. Be extra careful around the coil and any sensitive areas—nobody likes a rough cleaning! This step ensures that every last bit of old juice is removed, so your next vape session will be as fresh as a daisy.
Step 5: Dry Completely
Before reassembling, make sure all parts are completely dry. Pat them down with a clean cloth or let them air dry in a well-ventilated area. A dry kit means no lingering moisture that could interfere with your vaping experience (and we all know damp stuff is a recipe for trouble).
Step 6: Reassemble and Enjoy
Once everything is dry, put your kit back together. Your vape is now cleaner, fresher, and ready to deliver that great flavor you love. It’s like hitting the reset button, ensuring every puff is as enjoyable as the first one.
Final Thoughts
Regular cleaning isn’t just about maintenance—it’s about enjoying your vape kit at its best. Whether you’re a seasoned vaper or just starting out, a little care goes a long way. So next time your kit starts to look a bit sad and tired, treat it to a cleaning session and get ready for a delightful, flavorful experience.
Happy vaping and remember: a clean vape is a happy vape!


